Timextender Exact Online data source
Access and ingest data from the Exact Online REST APIs.
Authentication
Exact Online uses the OAuth refresh token flow. You must complete Exact's own setup steps before configuring authentication here, to obtain a client ID, client secret, initial access token and refresh token.
Once you have those values, fill in the corresponding fields on the data source.
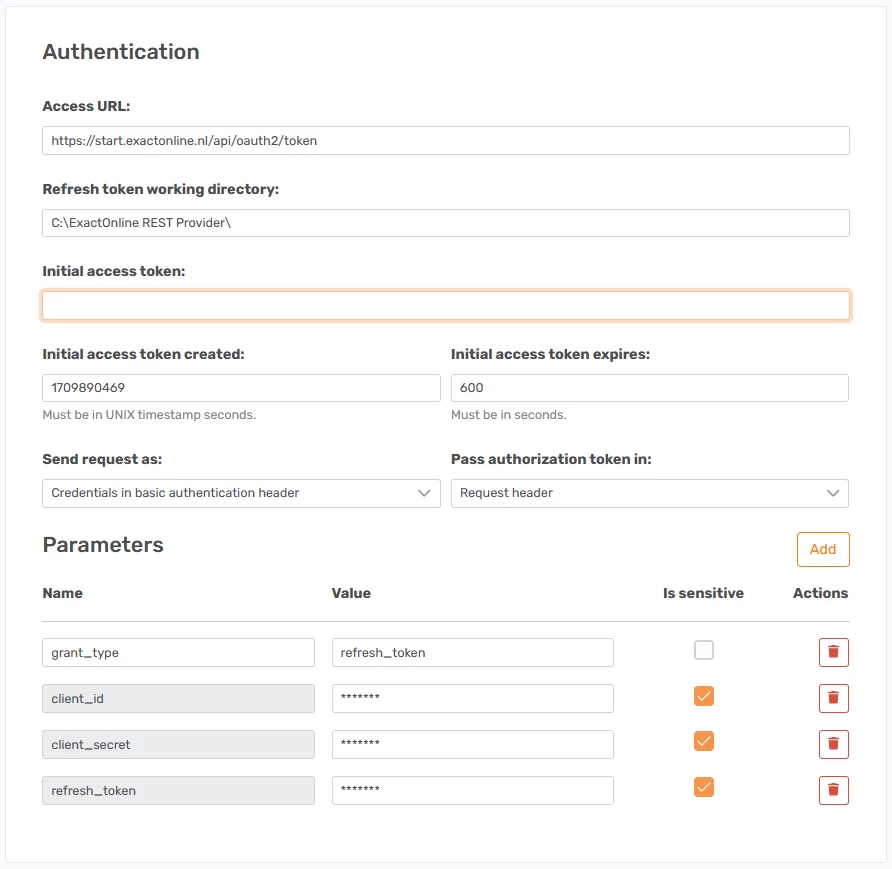
Timestamp format
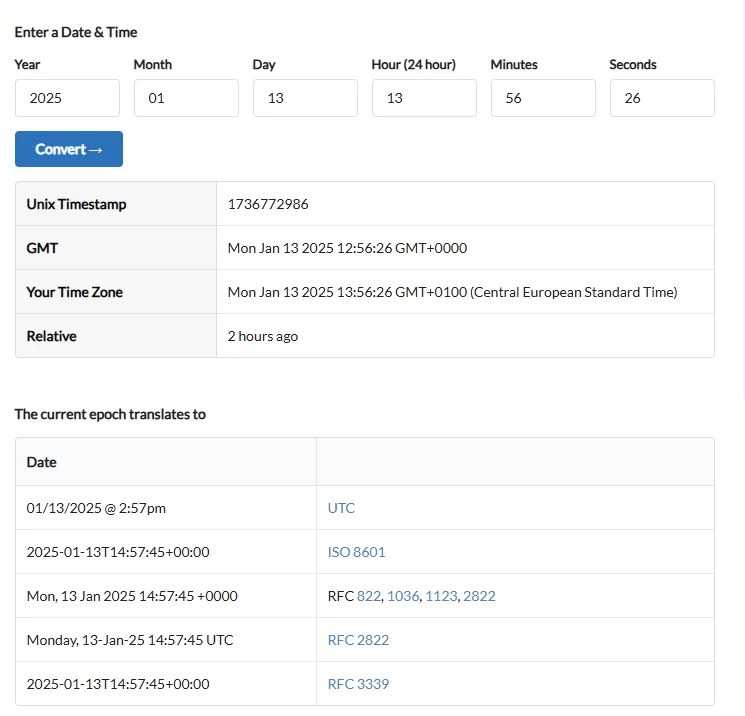
The initial access token timestamp must be converted to UTC and then to a UNIX timestamp in seconds.
Obtaining the values is a three-stage process: register an app, generate an authorization code, then exchange that code for the tokens.
Stage 1 — Register an app in Exact
Register an app at apps.exactonline.com. Choose the correct region first — see Region below.
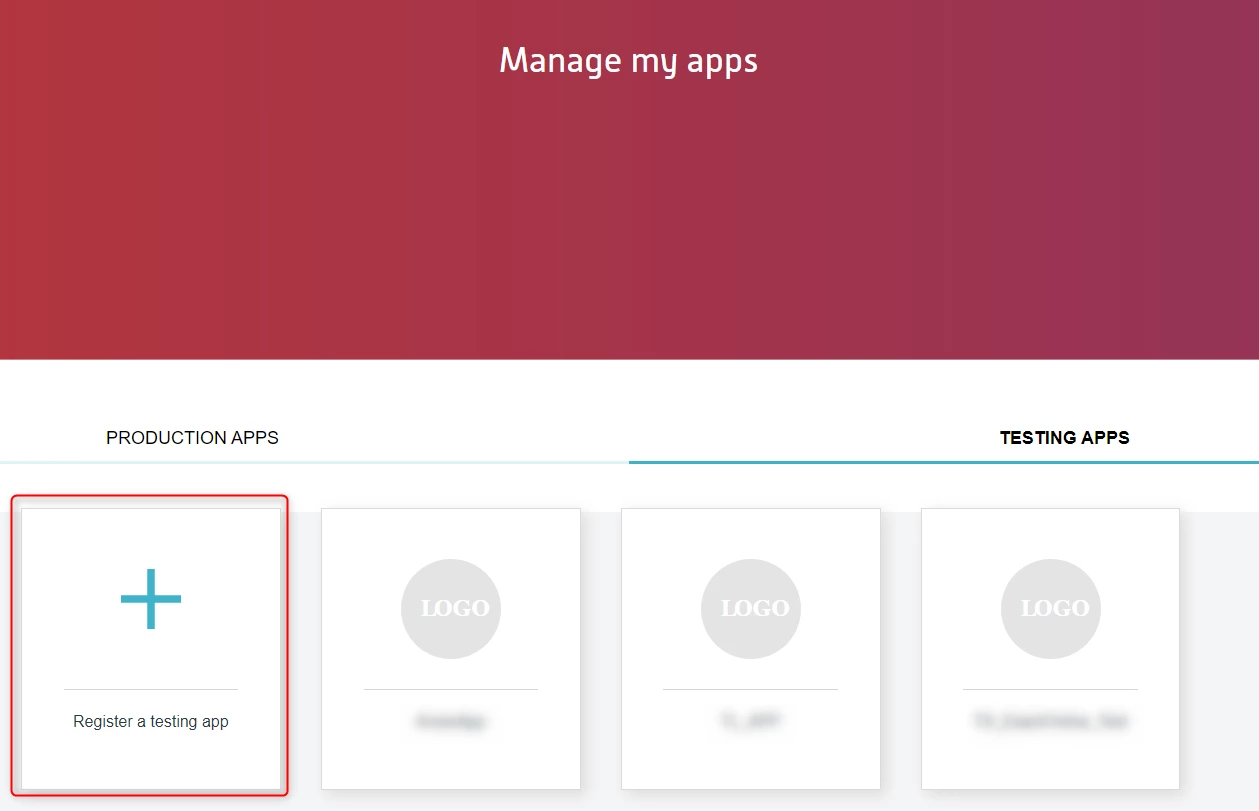
After signing in, use Manage my Apps in the upper right. Exact offers Production Apps and Testing Apps; a testing app is sufficient.
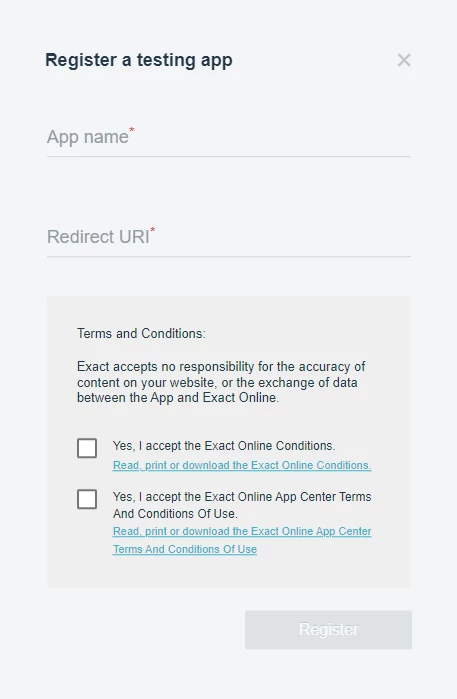
Complete the registration form:
- App name — so you can identify which app you are using.
- Redirect URI — any URI you control.
https://oauth.pstmn.io/v1/callbackworks and is used below when retrieving the code. - Accept the Terms and Conditions.
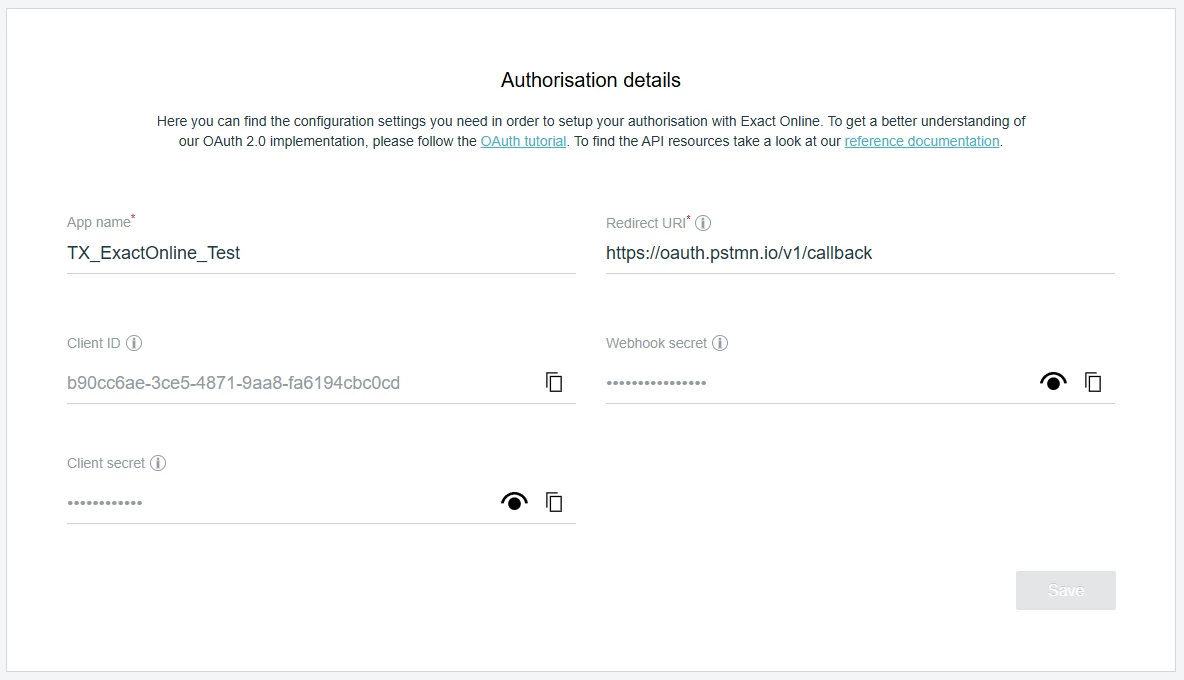
Once registered, the app page shows the values you need.
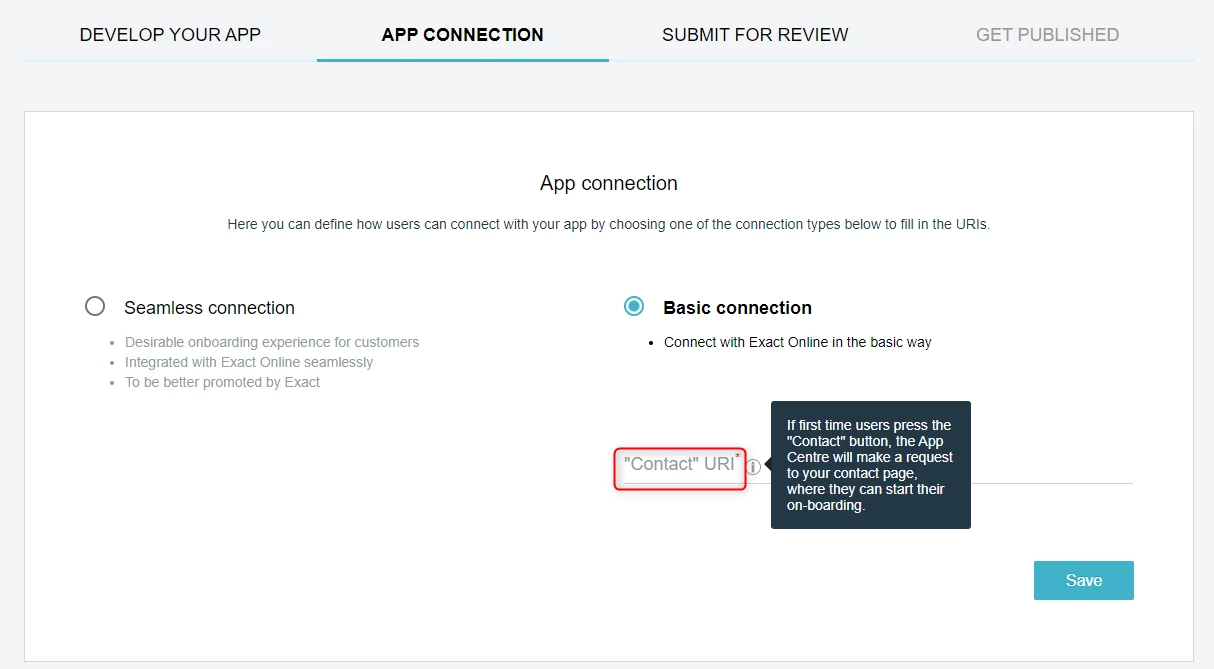
Under APP Connection, choose how users connect: Seamless connection or Basic connection. A Basic connection is sufficient. The Timextender website can be used as the Contact URI. You don't need to submit the app for review for it to work.
Stage 2 — Generate and decode the authorization code
Build an authorization URL with these parameters, as described in Exact's Set up Authorization requests:
| Parameter | Value |
|---|---|
| auth endpoint | /api/oauth2/auth on your regional base URL |
client_id |
from your app |
redirect_uri |
the redirect URI registered on the app |
response_type |
code |
force_login |
1 |
Region matters
The default documentation suggests https://start.exactonline.nl/. An account provisioned
in the UK must use https://start.exactonline.co.uk/api/oauth2/auth. Using the wrong
regional host fails authentication.
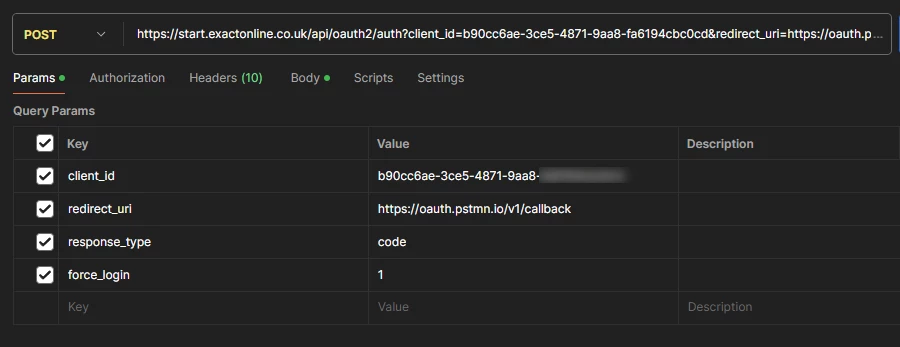
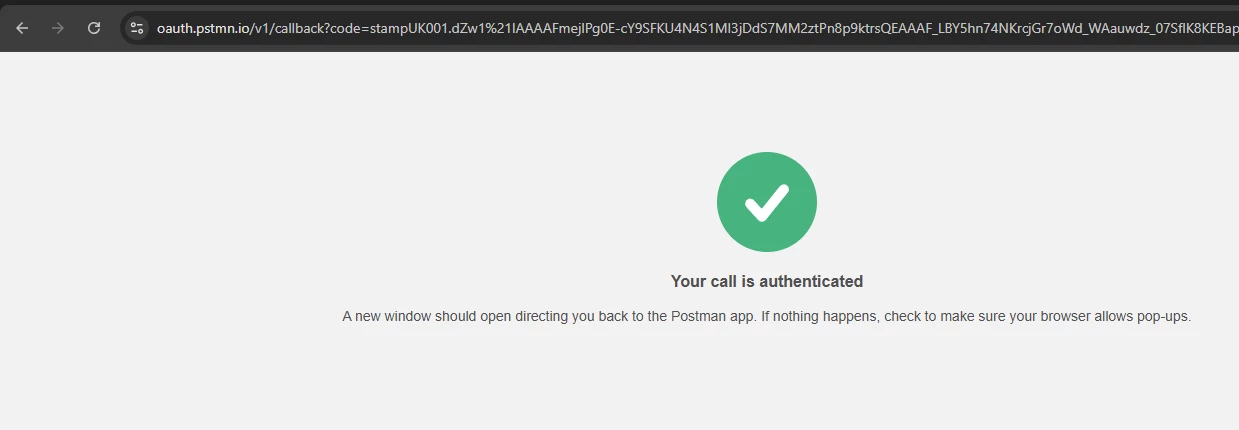
Do not send the request. Copy the resulting URL and paste it into a browser. Sign in if prompted, using the same credentials as the Exact app centre.
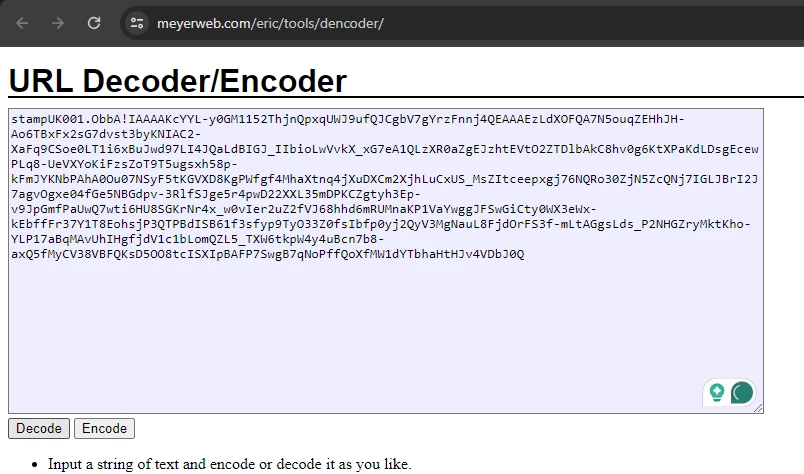
The code is URL-encoded. Decode it before use.
Stage 3 — Exchange the code for tokens
POST to /api/oauth2/token on the same regional base URL (see Exact's
Get and use access tokens), with the body encoded as
x-www-form-urlencoded and these parameters: code, redirect_uri, grant_type,
client_id, client_secret.
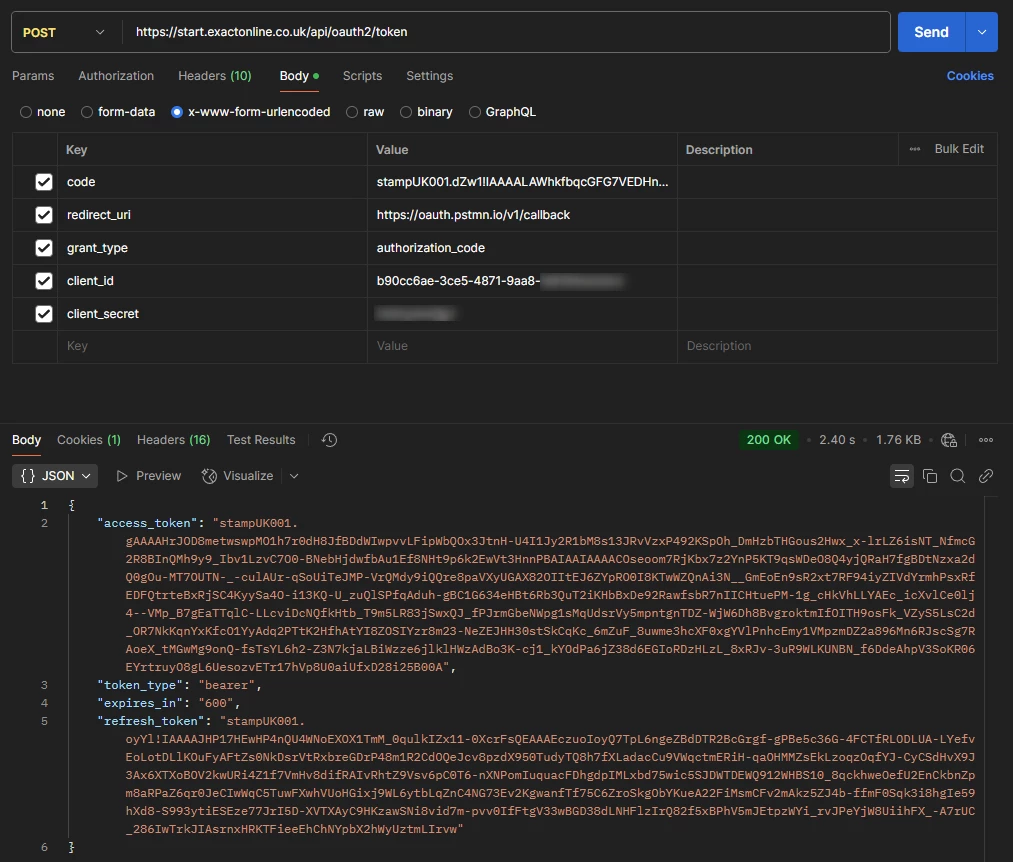
Map the response onto the data source fields:
| Response field | Data source field |
|---|---|
access_token |
Initial Access Token |
expires_in |
Initial Access Token Expires in |
refresh_token |
Refresh Token |
For the token creation time, take the Date from the response headers.
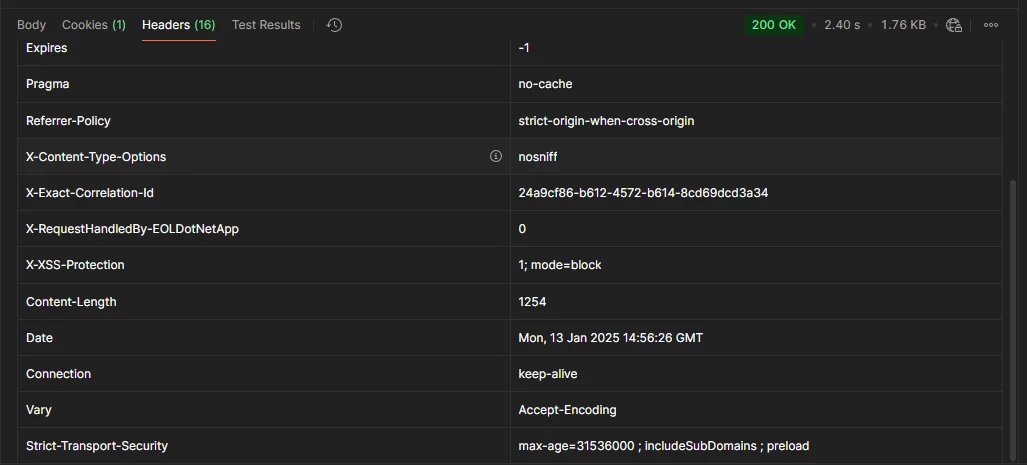
Convert that date to a UNIX timestamp in UTC and enter it.
Region
Select the region your Exact Online solution belongs to. The access URL updates automatically to match.
Find the division value
Division numbers are set per endpoint, with an optional default used wherever an endpoint does not specify one.
1. Near the bottom of the endpoint list, find Me and enable it.
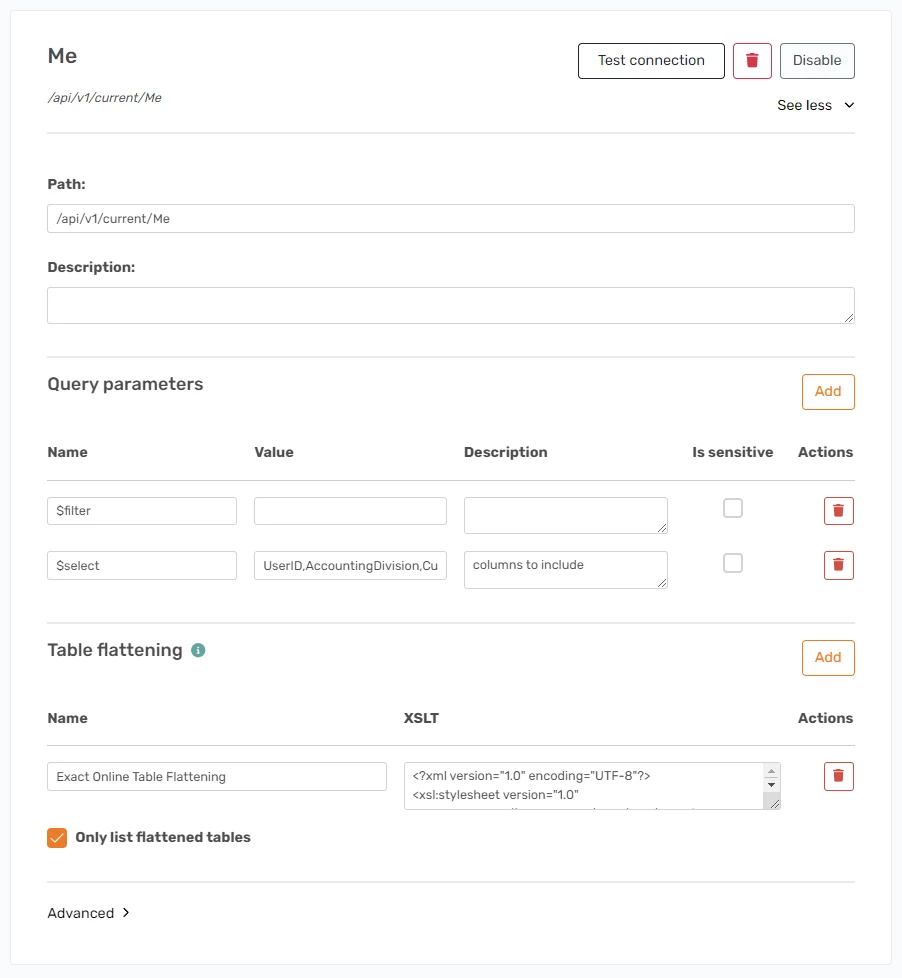
2. Create the data source, then synchronize and execute it.
Note
You may see an error stating the initial token has not expired. Wait briefly and retry.
3. The result returns your main division.
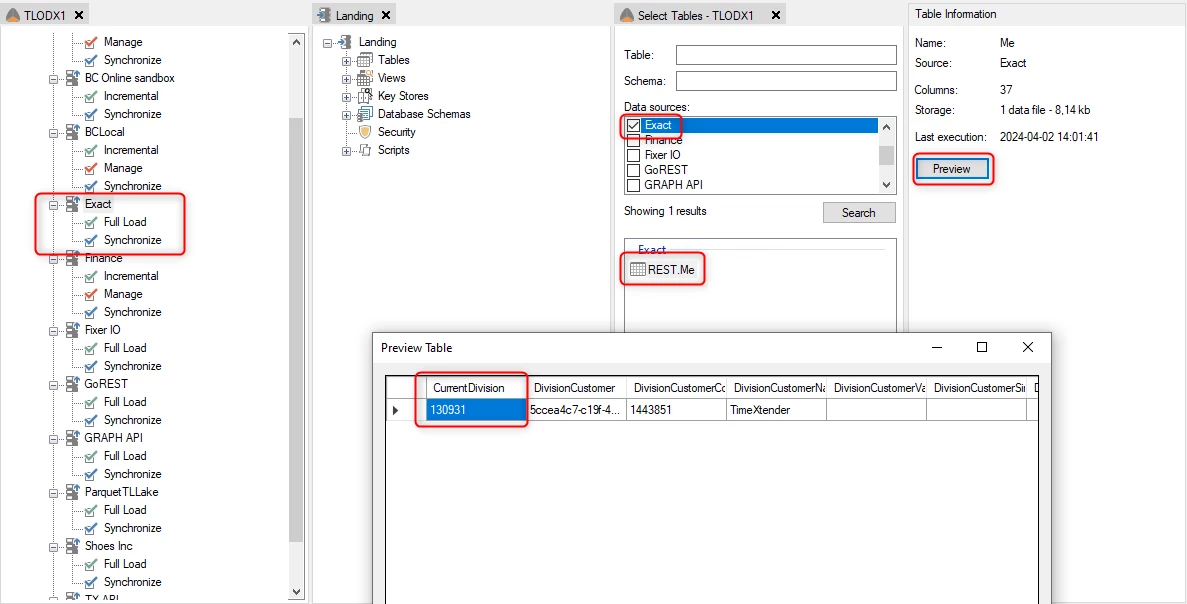
4. Enter that CurrentDivision value as the Default Division.
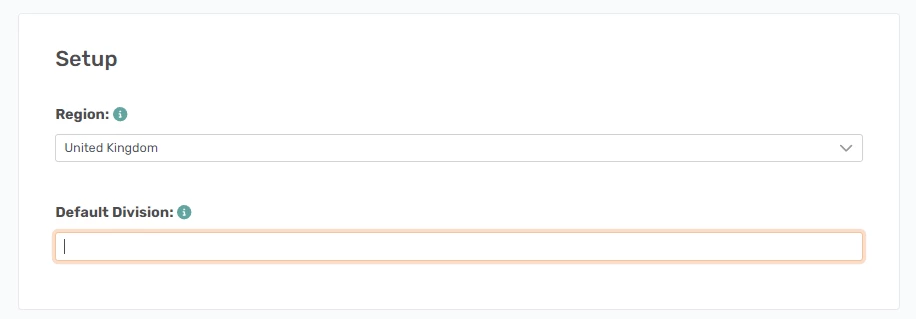
You can now enable the endpoints that require a division value.
Endpoints
All endpoints are disabled initially. Enable only those you need — the Exact Online API enforces request limits per minute and per day.
Each endpoint supports two query parameters:
| Parameter | Purpose |
|---|---|
$filter |
Narrow the rows returned. |
$select |
Narrow the columns returned. Defaults to a comma-separated list of all properties. |
Results are flattened to a table format using an XSL transform, with a default XSLT per endpoint. Each endpoint can override the default division number using its own Division field.
Discussed in the community
Looking for related questions…
Didn't find your answer? Ask the community about this page — questions are answered by Timextender experts, partners and other users.