Adding a Data Source in Timextender Data Integration
A data source is automatically created in Timextender Data Integration when a data source connection is mapped to an Ingest instance in the Timextender Portal. This article describes how to manually add data sources in Timextender Data Integration using existing data source connections that have been mapped to Ingest instances.
Prerequisites
Ensure that the data source connection has been added in the Timextender Portal, and is mapped to an Ingest instance, before attempting to add the Data Source in Timextender Data Integration.
Adding a Data Source in Timextender Data Integration
This guide describes how to add a new data source on Timextender Data Integration
- Double-click on your Ingest instance
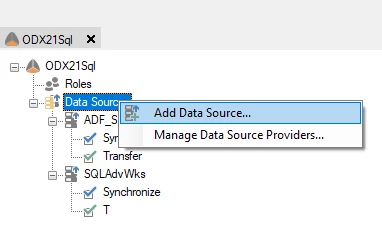
- Right-click “Data Sources” > Add Data Source
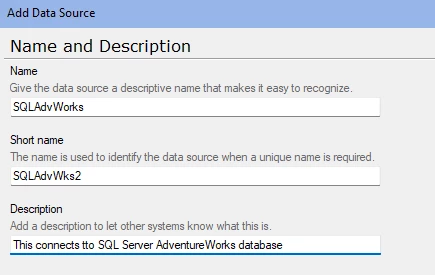
- Enter the Name and Description of the data source.
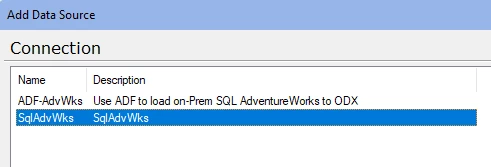
- Select the Connection from available connections you have configured in Timextender Portal.
Go through Table selection, define a Transfer task if needed. For additional details, refer to Tasks in an Ingest Instance
Advanced Ingestion options
On the data source level, three advanced options are available for controlling how the transfer behaves.
To change the advanced settings:
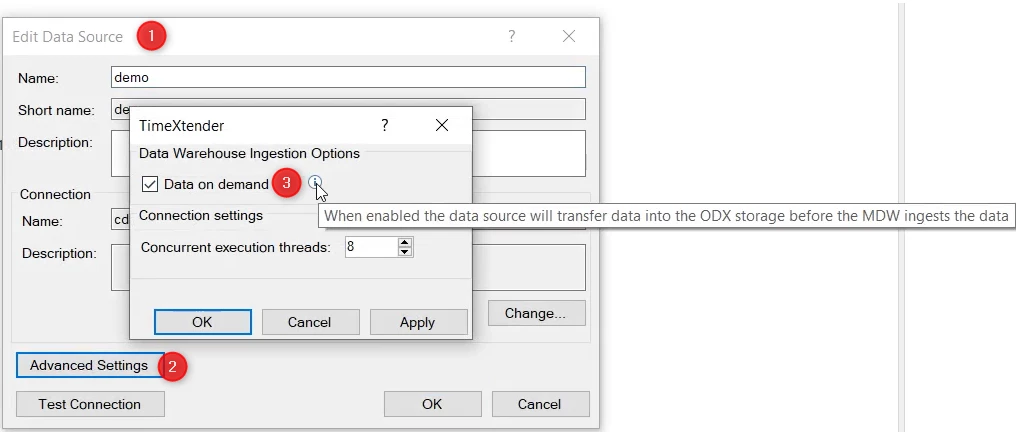
- Right-click on the data source, then click Edit data source...
-
Click on Advanced Settings...
-
Select Enable data on demand and the data source will automatically transfer data into Ingest storage before the Prepare instance ingests the data. This will work without configuring an explicit "Transfer task" under the data source.
Note
Data on demand does not currently support ADF data sources.
-
Select Allow full load from Prepare to let a full load in Prepare re-read this data source from the source system. The full load applies to the whole data source, even if you select a full load on a single table, and it costs a full read from the source system. If the option is off, a full load runs as an incremental transfer and a warning is written to the execution log. The option has no effect on tables without incremental rules, is not available for Azure Data Factory data sources, and does not apply to Fabric storage.
- Set Concurrent execution threads
- Click OK
Discussed in the community
Looking for related questions…
Didn't find your answer? Ask the community about this page — questions are answered by Timextender experts, partners and other users.