Create a bacpac export
This article describes how to create an export of a database for use in another location.
In a local SQL server install, you have the option to create a backup file (BAK) that can be shared or used to restore the database. In Azure SQL, this is not possible. Instead, you have the option to create a data-tier export called a BACPAC file.
There are many benefits to this compared to a backup, as it takes way less space.
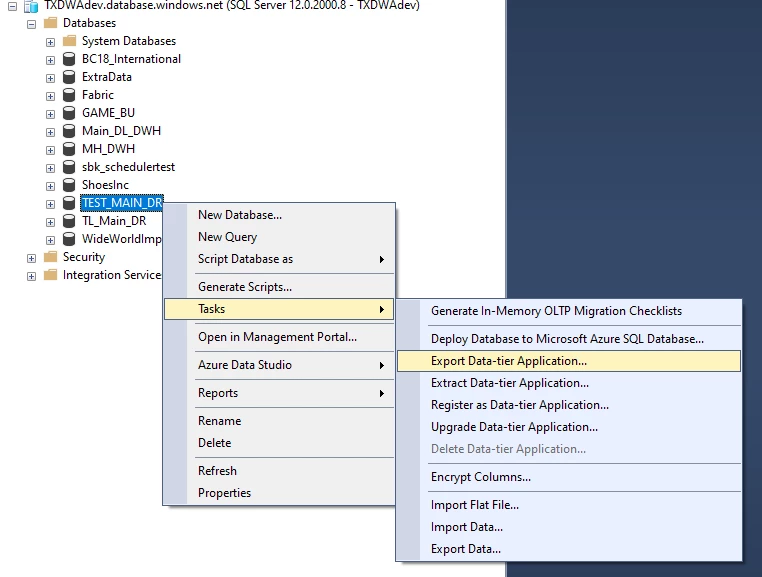
- To do that locate the database, right-click on it and click on Export Data-tier Application.
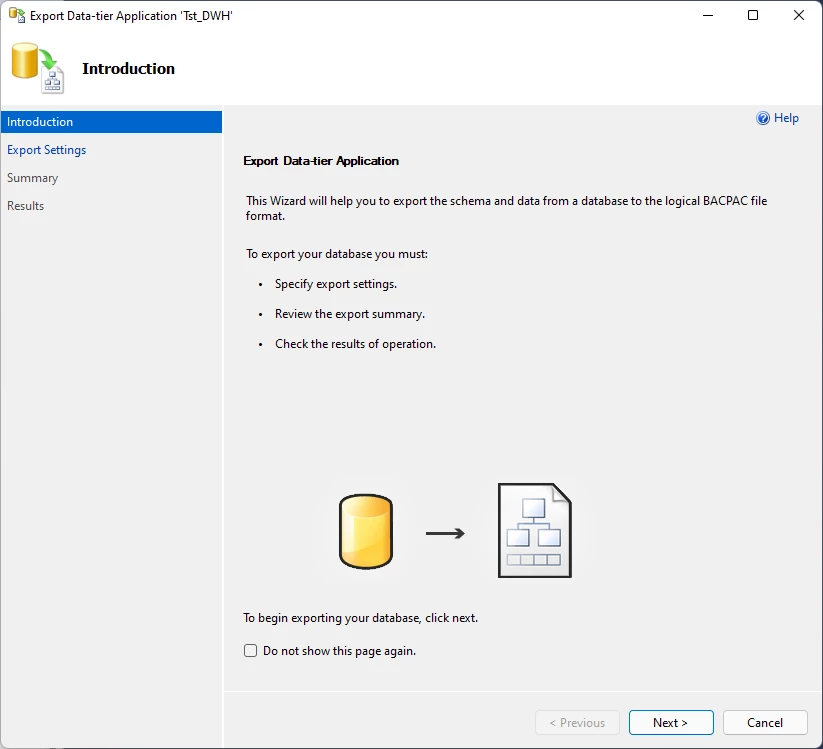
- Then you click Next. Notice that it mentions creating a bacpac file.
- Then click on Save to local disk to, click on Browse to locate where to store the file.
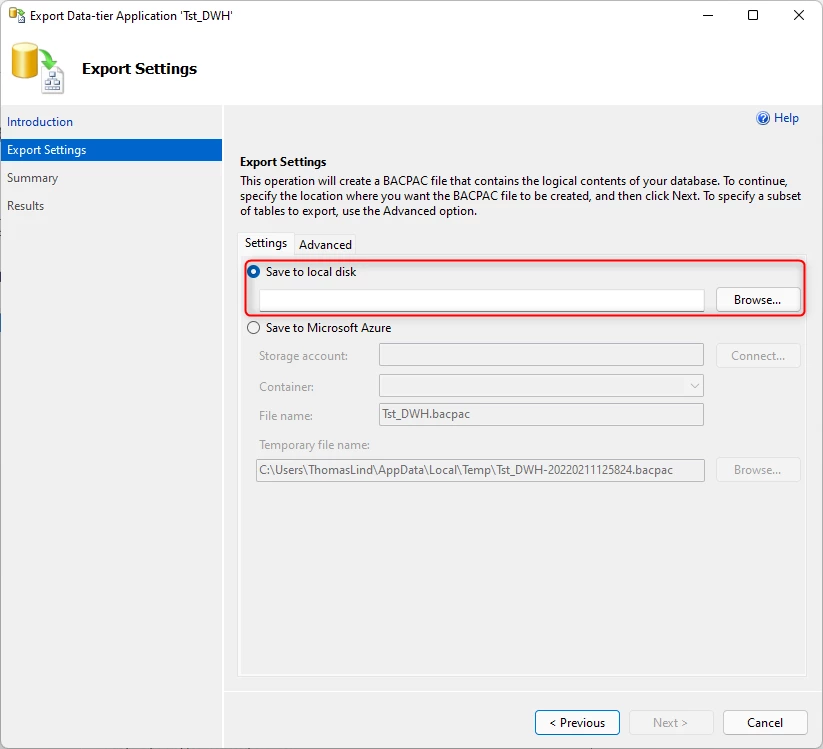
- Alternatively you can also chose Save to Microsoft Azure. You state a StorageAccount and a Container and it will store it there.
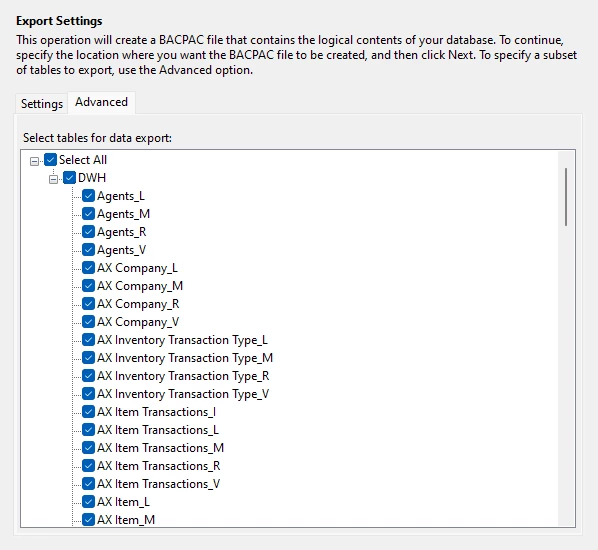
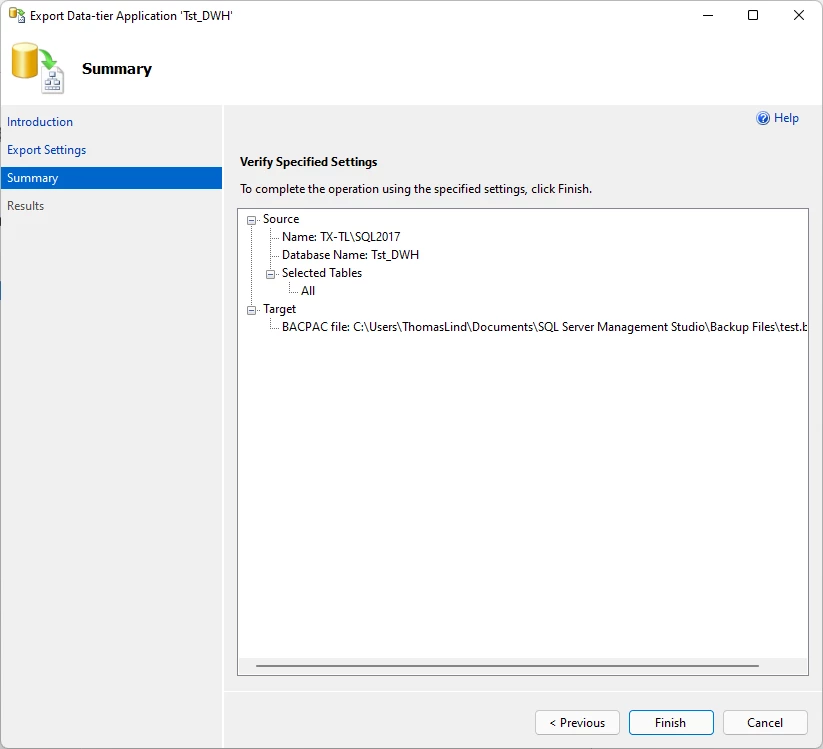
- If you click on Advanced you have the option to choose which tables to export.
- Then you click Finish to go through it and generate the file.
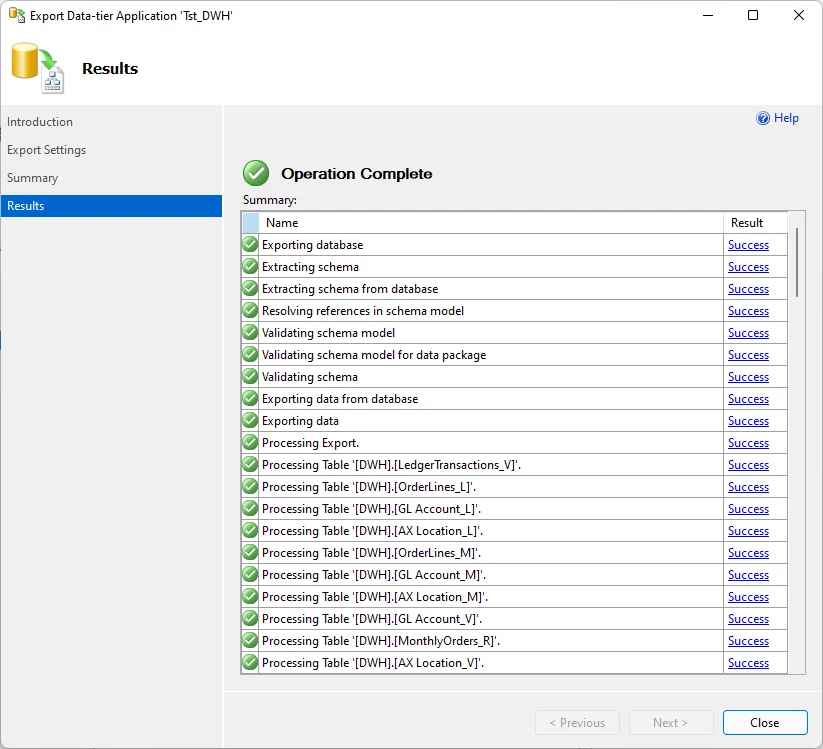
- After the operation is complete, you will see the result of of the exports.
Discussed in the community
Looking for related questions…
Didn't find your answer? Ask the community about this page — questions are answered by Timextender experts, partners and other users.