How to configure Table Partitioning in Timextender Classic
Table partitioning can be configured both by Date and Custom.
Set up partitioning by Date
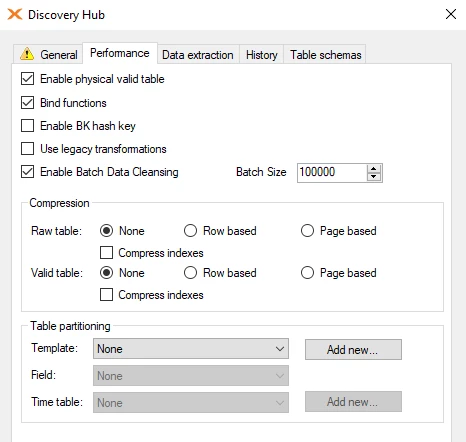
- Identify the fact table that you want to configure partitions and go to the table settings (F4) and click on the performance pane.
- Click Add new... to create a partition template.
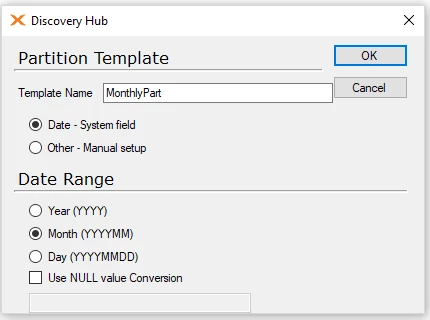
- If you choose the Date - System Field bullet point the menu you will get three options Year, Month and Day. The Use NULL value Conversion means that if the date field is containing NULL values it should use what is added there. This is what the table is going to be partitioned into. You should take into account the amount of time it will take to create these when you execute the cube. The bigger the date range the more parts will need to be created.
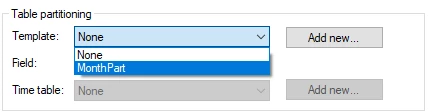
- Then you choose the the date field you want it to base the partitions on. It could be any date field. If you choose DW_TimeStamp it will create the partitions on new data, though this only works on incremental load tables.
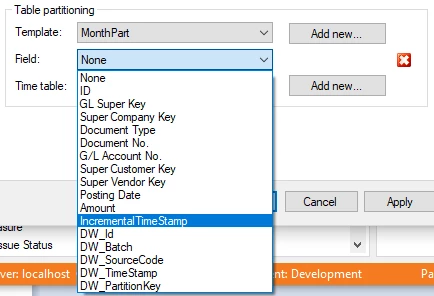
- Lastly, you choose the Date table you have created. It is used to compare the date data.
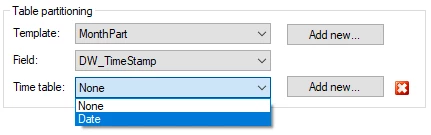
- Then all you need is to deploy/execute the table to complete the changes.
Create a custom partition
Sometimes you do not only want the partition to be based on year, month or day. Perhaps you want dynamic ranges that don't adhere to only one time frame. Below I will show how you can set up just that.
- Go to your partition settings and Add new... partition template.
- Select Other - Manual setup.
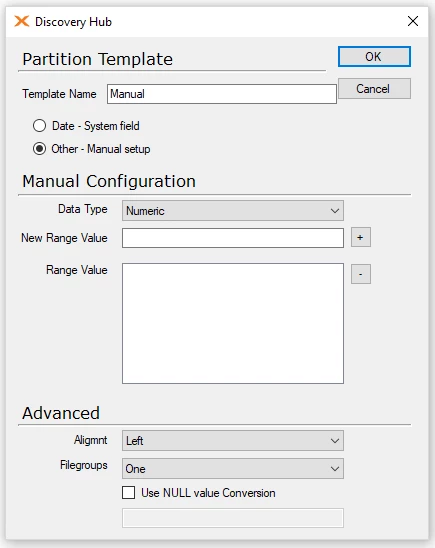
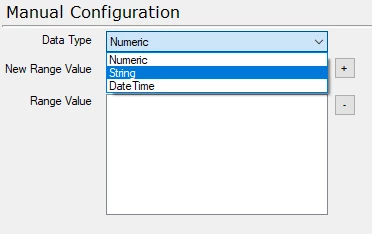
- You can choose what sort of data type the range should contain. In this case I will choose String.
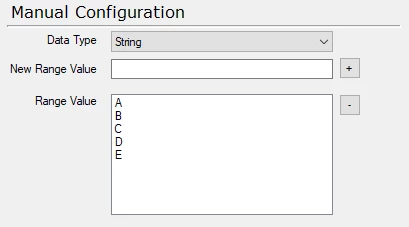
- In the New Range Value text box write A and press the + button. Keep doing this until you have added E. It will then be added to the Range Value area.
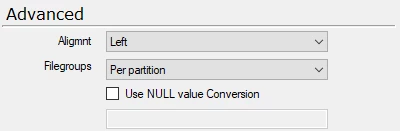
- In the Advanced area change the Filegroups menu to Per partition.
- The next step is to create the dynamic ranges. Start by going to the source table of the table you want to use the partition in. Create a custom text field called Part.
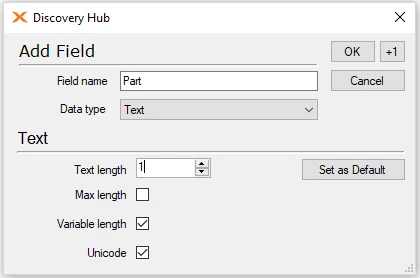
8. Add some fixed characters.
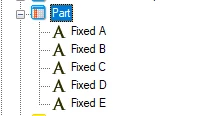
- The next step is to add conditions to the characters. So A becomes equal to today, B becomes equal to current week except today, C becomes equal to current month except current week, D becomes equal to current year except current month and lastly E becomes equal to any data older than current year.
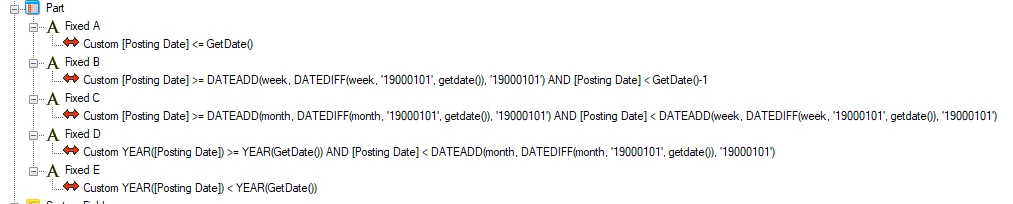
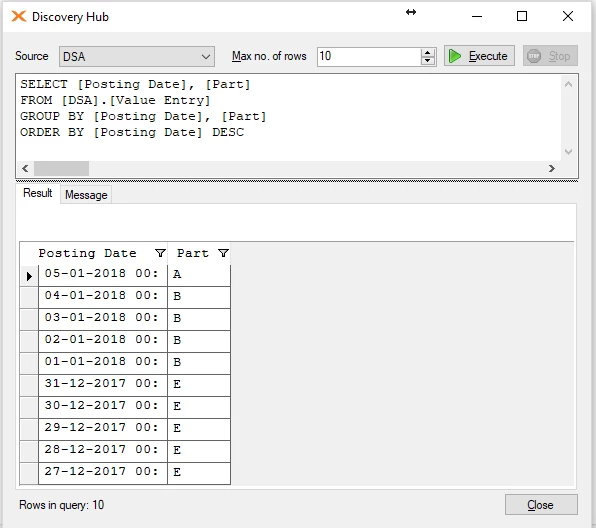
- Then you pull in the Part field to the Fact table you want to use for partitioning.
Use the partitioning
- In the table settings, set the template to point at the manual template we made.
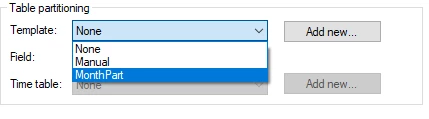
- Then add the Part field we created in the Field menu.
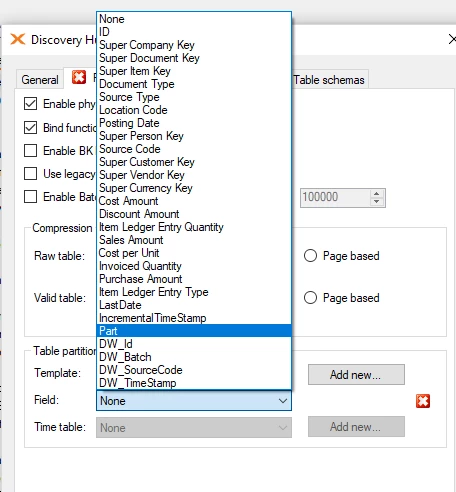
- Finally, deploy/execute to complete the changes.
Discussed in the community
Looking for related questions…
Didn't find your answer? Ask the community about this page — questions are answered by Timextender experts, partners and other users.