Portal
The Portal is where you perform the initial setup of your Data Integration solution: create your account, invite team members, manage instances and configure data sources. Its guide tracks the setup of your end-to-end solution and links to the relevant technical documentation as you go.
| Capability | What you do there |
|---|---|
| User access control | Give additional team members access to instances and other products. |
| Instance configuration | Create and manage instances, and define their data storage connections. |
| Data connections | Browse, configure and test connections from hundreds of pre-built data source providers. |
Sign in or sign up
Go to app.timextender.com and sign in.
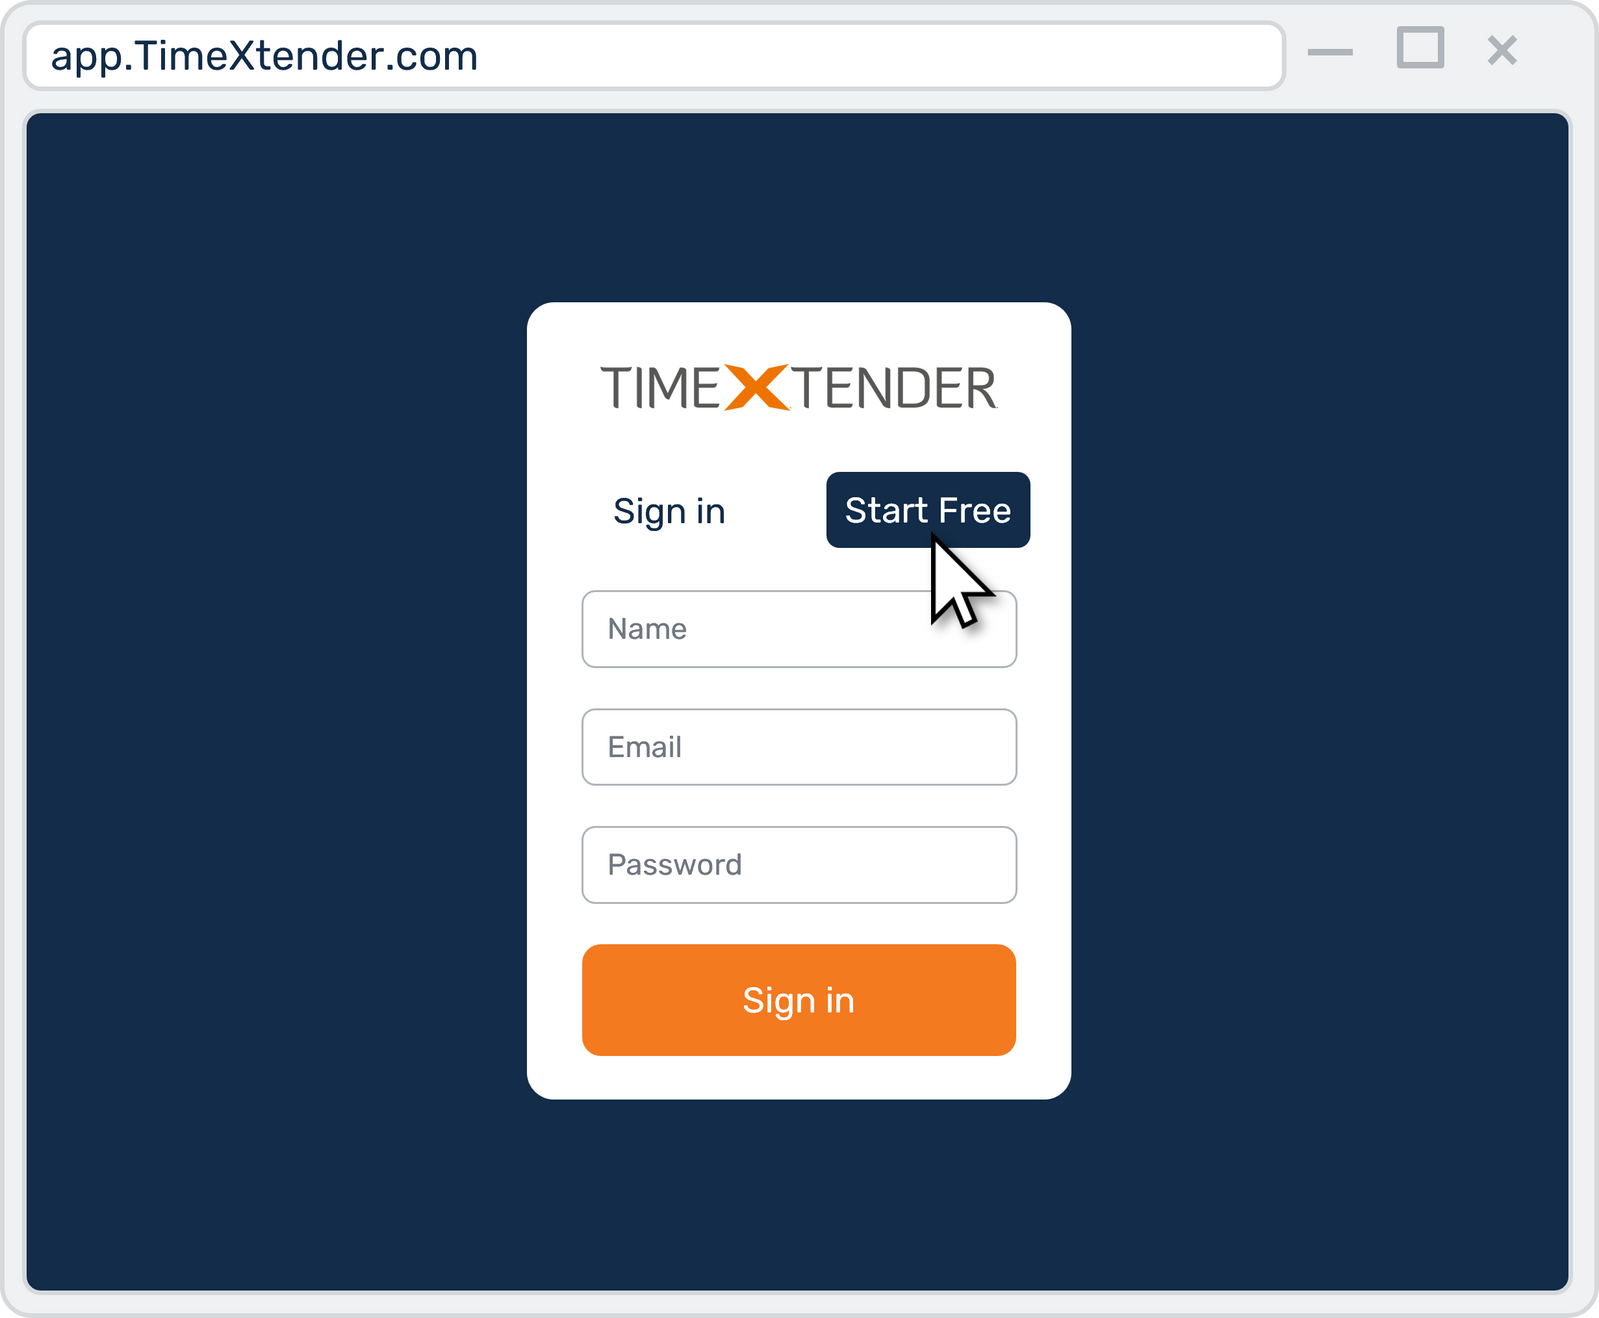
No account yet?
- Partners get free access to the Premium tier — check your inbox for an invitation. If you
don't have access, ask your solution specialist or company admin for partner-level access. If
you don't know who that is, email
support@timextender.com. - Customers should ask their partner or company admin for user access to the customer account.
- Free trial: go to app.timextender.com and click Start Free.
User access control
Users can be granted permissions at the account level or the instance level. Some permissions apply in both the Portal and Timextender Desktop.
Account-level permissions (roles)
| Role | What it allows |
|---|---|
| Company Admin | Edit account-level details, and add or edit users. |
| Customer Manager | Partners only — add or edit customer accounts and users. |
| Data Estate Admin | Add or edit any instances, data source connections and environments, in both the Portal and the Desktop app. |
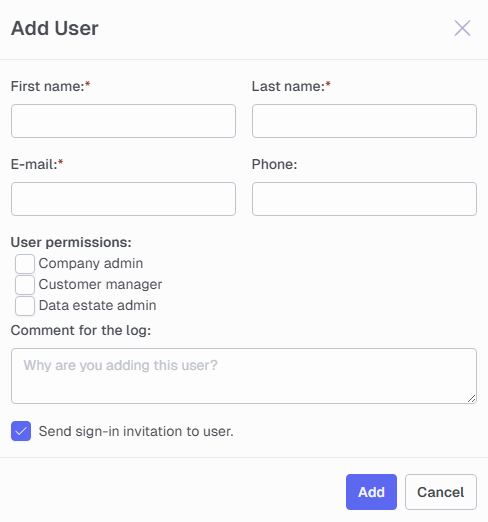
Add a user: Admin → Users → Add, enter first name, last name and email, then Add.
Instance-level permissions
A user with no account-level permissions can still be granted access to specific instances. Those users get:
- Read-only permission on the instance's details in the Portal
- Edit permission on the instance's data workflows in the Desktop app
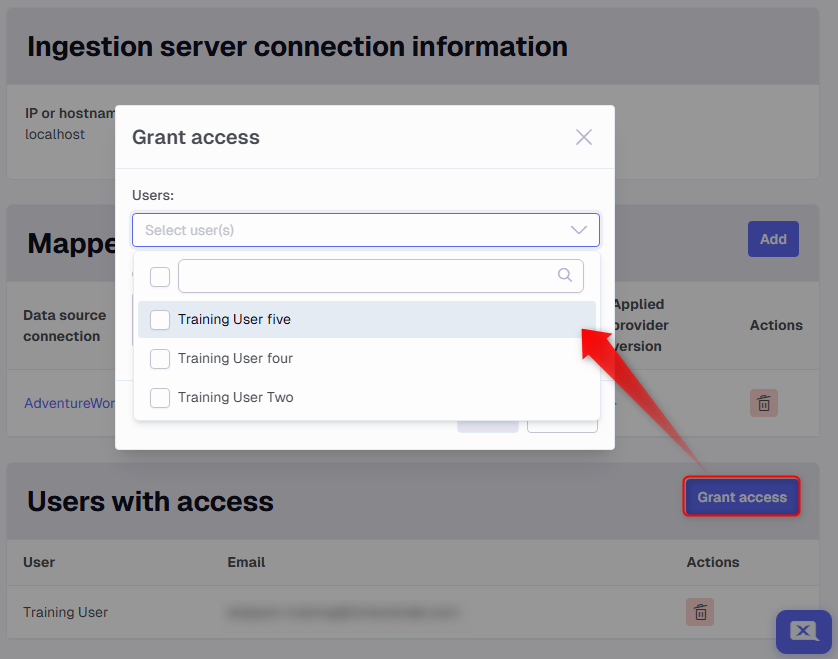
Map a user: Data Estate → Instances, select an instance, scroll to the bottom and click Grant Access, choose the user, then Grant.
Full detail in these docs: Configure User Accounts & Permissions and User Access.
Configure your instances
Instances are tied to a data storage resource, so configure storage before adding instances. Choose either the sandbox or a reference architecture.
The steps below use an on-premise SQL Server, as created in the sandbox module. To train on a different architecture, choose the storage type your reference architecture suggests and follow that guide instead: Snowflake · Fabric Lakehouse · Azure SQL.
Add an Ingest instance
An Ingest instance extracts data from disparate sources into a single centralized data lake or Lakehouse.
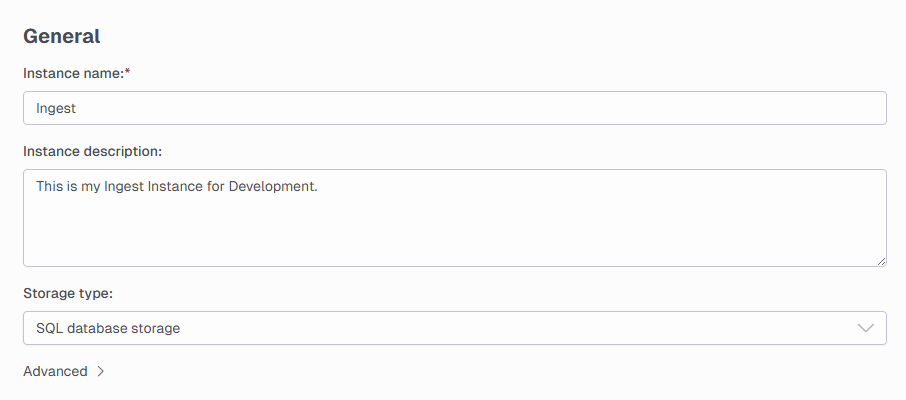
- Click Data Estate → Instances.
- Click Add Instance → Add Ingest Instance.
- Enter an instance name and description.
- Select Storage Type → SQL database storage.
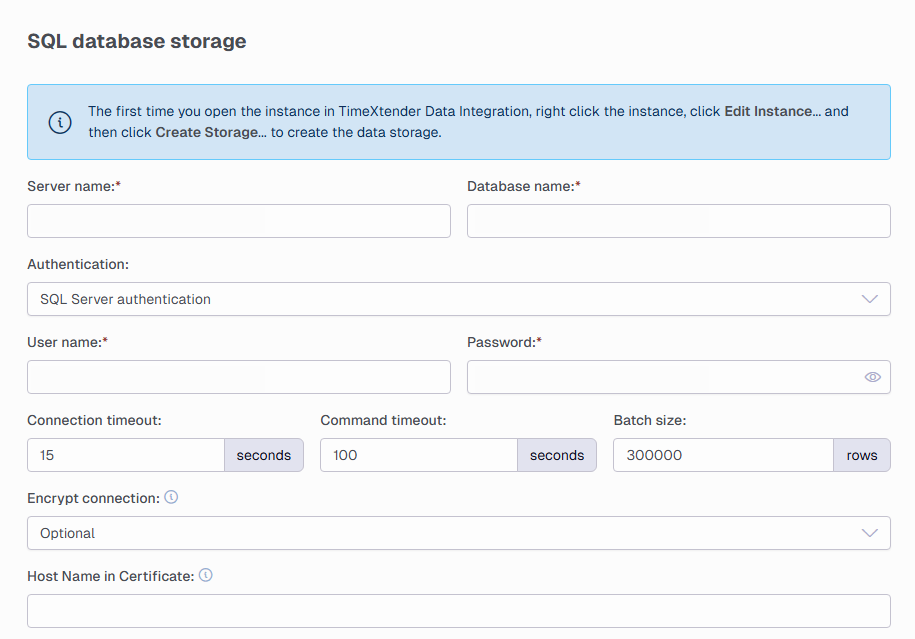
Storage connection information
These are the details the Ingest Service uses to reach Ingest storage. If the Ingest Service
and SQL Server are on the same machine, localhost is fine.
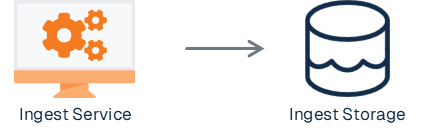
- Server name:
localhost - Database name:
Ingest Dev - Authentication: SQL Server authentication
- Username:
SA - Password: the one you set during SQL Server setup
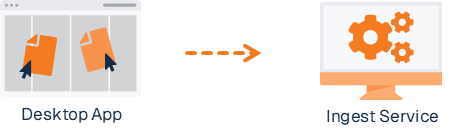
Ingest server connection information
These are the details Timextender Desktop uses to reach the Ingest Service. Again, if both are
on the same machine, localhost is fine.
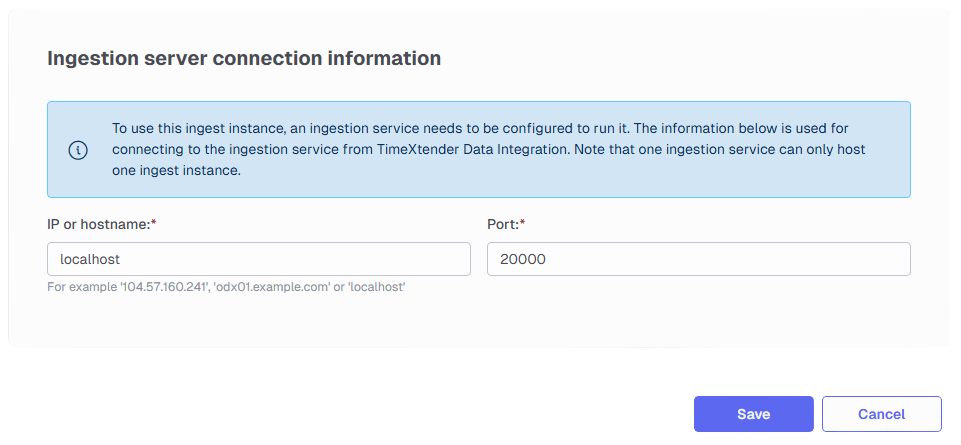
- IP or hostname:
localhost - Click Save.
Reference: Add Ingest Instances · Add and Configure Data Sources · Instances and Settings
Next in the course
Ingest Instance · Prepare Instance
Discussed in the community
Looking for related questions…
Didn't find your answer? Ask the community about this page — questions are answered by Timextender experts, partners and other users.