Security
How to configure security for all instances, with granular control.
In this module: instance user permissions to grant customized access rules and roles in your organization · Prepare instance security (OLS, RLS) · Deliver instance security (OLS, RLS)
Ingest instance user permissions
The Ingest instance allows customized, granular control of user access to the data in your Ingest storage. This can be a critical step for anyone working with sensitive data.
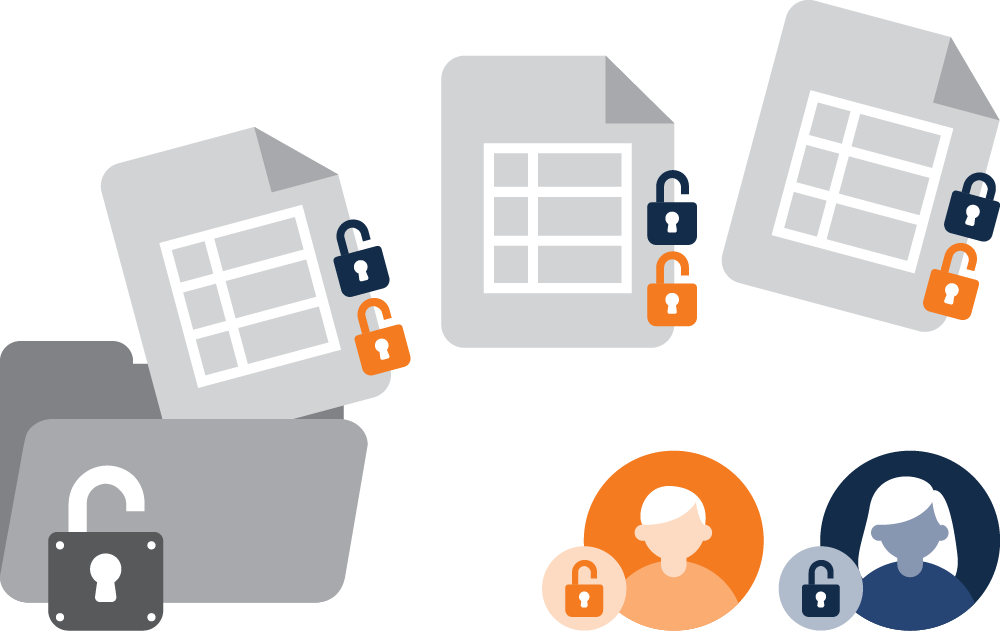
Imagine you are an IT administrator working with a colleague (a data engineer) to integrate and
analyze Human Resources data sources. There are likely a few tables — employee_salaries, for
example — that this developer should not have access to, while the rest of the data needs to be
accessible for their tasks.
In this case the IT admin can grant access to the data source in the Portal, and then create a role for the data engineer that excludes the tables in question.
Custom user permissions by table, schema and column (Ingest instance)
- With the Ingest instance open, right-click Roles → select Add Role.
- Enter a name and click Next.
Data area (MDW, DSA) security
Object-level security (OLS) in a data area
As with the Ingest instance, data area (MDW, DSA and so on) object-level security gives you granular control over user permissions to data objects in MDW storage: select a group of users (a role) and give them access to specific tables, views, columns or even schemas.
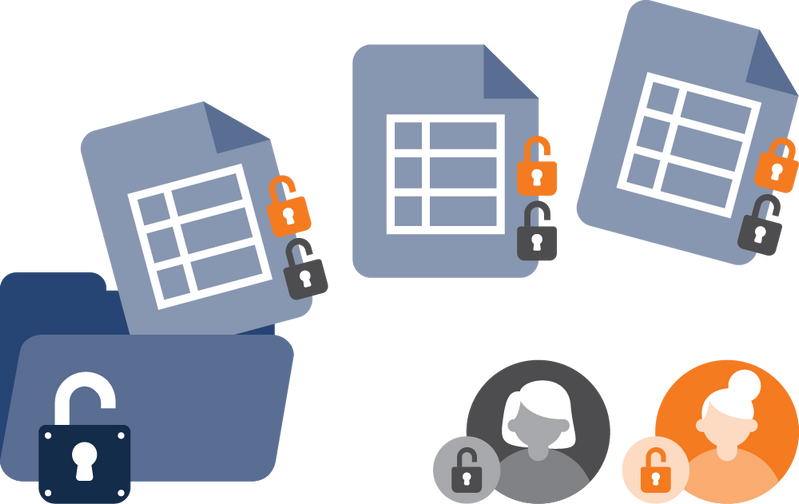
In practice it is common for IT teams and security administrators not to provide user access to the ODX storage, but to provide access to the data areas instead. Timextender aims to give you total control over your data, so there is feature parity with the ODX role-based security access pattern. For example, data engineers likely should not have access to employee health information unless it is central to their work and responsibilities.
Row-level security (RLS) in a data area
MDW row-level security lets you dynamically give users access only to specific rows in a table, based on rules you define.
For example, sales managers in North America can only see sales bonuses for salespeople in the North America region. Note that there is also row-level security functionality in the Deliver instances, which is more commonly how non-developers access the data.
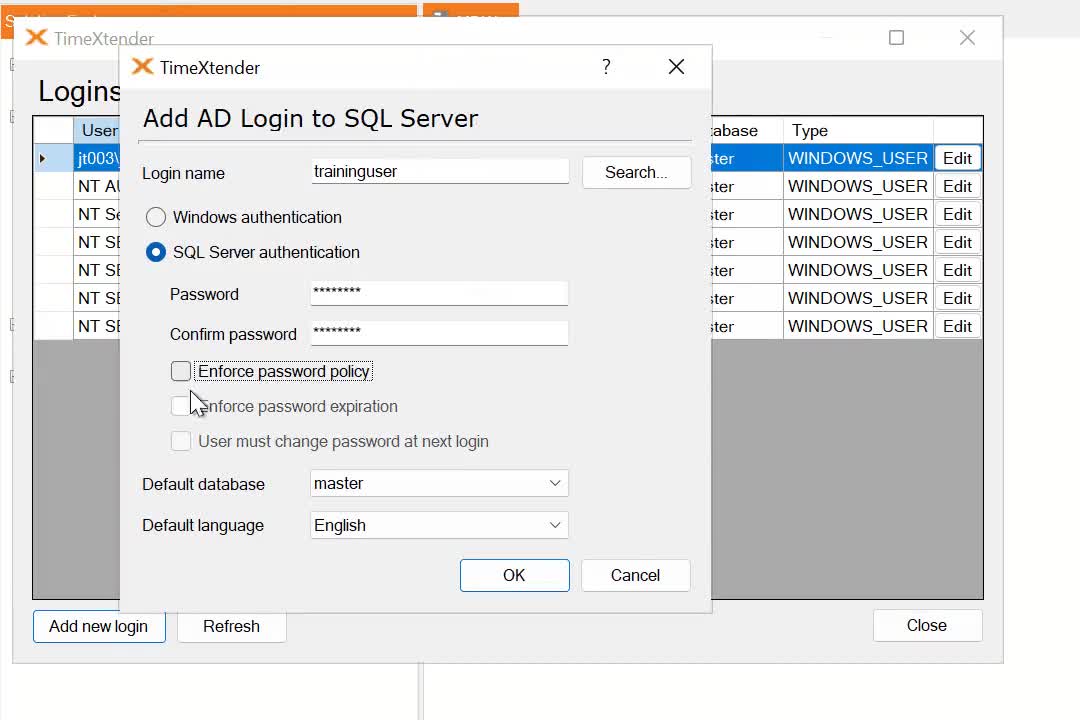
Add or edit SQL Server logins (MDW)
- Under the data area, right-click Security and select SQL Server Logins to open the Logins window.
- If a SQL login already exists that is suitable for use in the database role, skip to Adding a database role. Otherwise, click Add new login to create a new SQL Server login.
- Enter the login name and other credentials, based on the authentication method.
- Click OK.
Adding a database role (MDW)
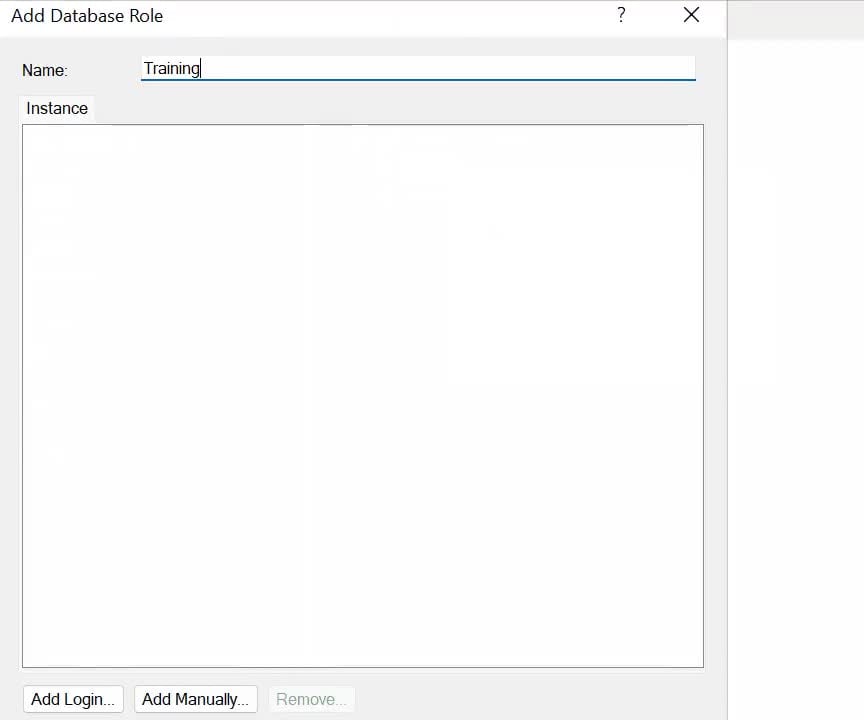
- In the data area tree, right-click the Security folder and select Add Database Role.
- In the Name box, enter a name for the database role.
- Click Add login to add logins that exist on the SQL Server configured for the data area storage.
- Select the logins to be added from the list in the Select Login(s) window.
- Click OK.
Object-level security (MDW)
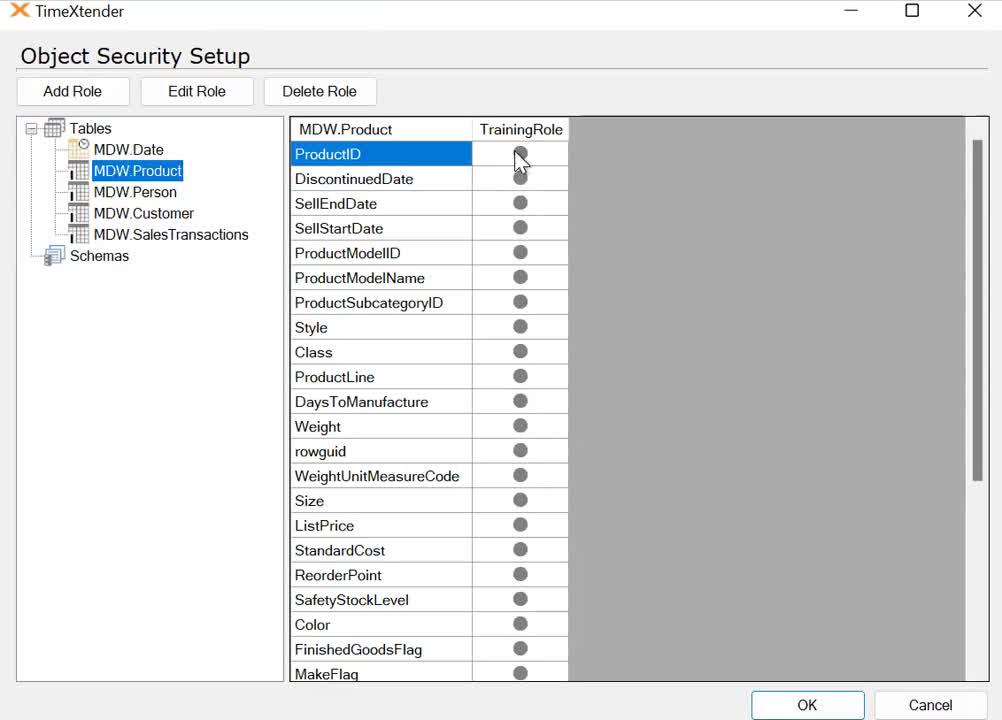
- Under the data area, right-click the Security folder and select Object Security Setup to open that window.
- In the tree on the left, click Tables, Views or Schemas to select the type of object to set up access for. Expand Tables and select an individual table to assign object- or column-level permissions on that table.
- Click the icon to toggle through the three access settings: Not Set, Grant and Deny. Setting column-level permissions on a table overwrites any object-level permissions already set.
- Click OK.
Assign row-level permissions (MDW)
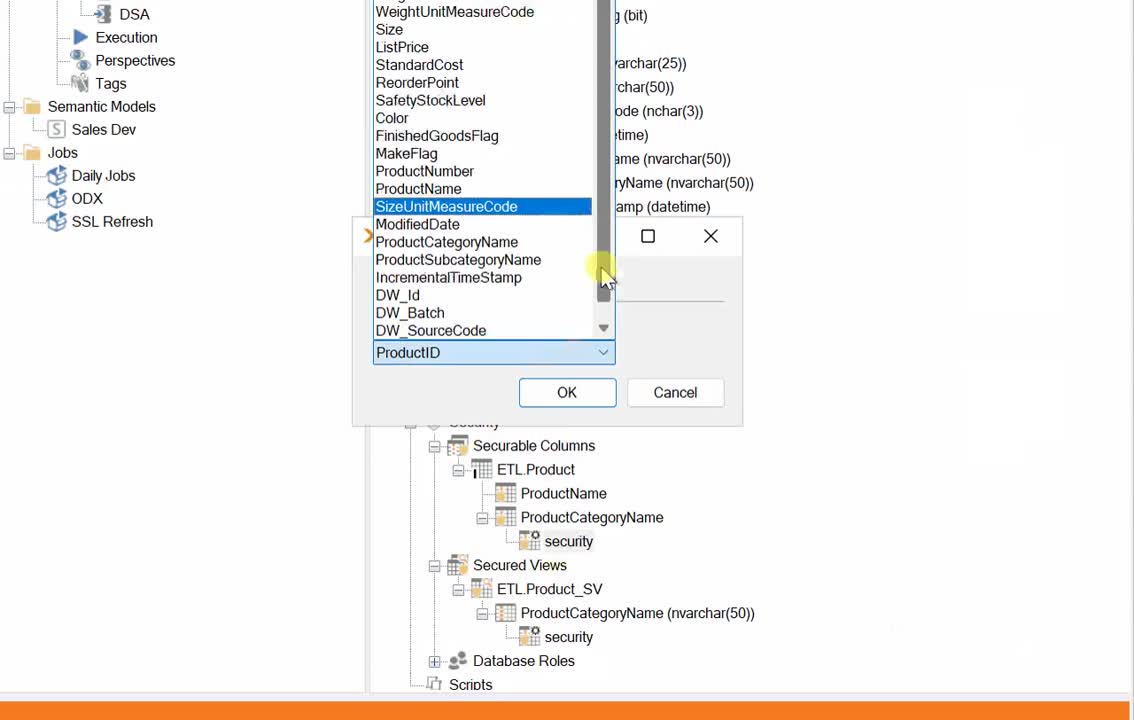
- Expand the table that contains the column where permissions are to be set. Right-click the field and select Add Securable Column.
- In the Display Column list, click the column value to be displayed in lieu of the column being secured.
- Click OK, which opens the Add Securable Column Setup window.
- Select column values and database roles, then click Add to add them to the Security Configuration list on the right to grant object access.
- Click OK.
Apply row-level permissions (MDW)
- Drag and drop a securable column setup on a field in a data area table.
- To add further permissions to the view, drag and drop a securable column setup on the view, which opens the Add Field window.
- In the Field Name list, select the field that contains the values to be filtered with the securable column setup.
- Click OK. The field is added to the secured view.
Related reference
- Portal — where data source access is granted before roles are refined here.
- Prepare instance — the data areas these permissions apply to.
- Deliver instance — row-level security for report consumers.
Discussed in the community
Looking for related questions…
Didn't find your answer? Ask the community about this page — questions are answered by Timextender experts, partners and other users.