Install & Configure
Install the required software and finish configuring your training environment.
In this module: installation prerequisites · installing the Ingest Service · installing the Desktop application
Install prerequisites
Ensure the target environment meets the system requirements:
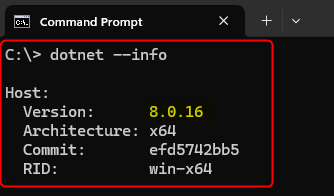
- .NET Framework v4.8 or higher
- IPv4 connectivity for connecting to cloud instances
- SQL Server Management Studio, if connecting to Azure SQL
For less common requirements, see Timextender Data Integration Prerequisites.
Firewall configuration
You need network connectivity between the client machine and:
- The Ingest Server. For client machines to reach it, configure firewall rules to allow traffic on the specified port — 20000 by default. In Azure this means adding an inbound security rule to the VM's network settings.
- The Timextender Portal and cloud storage resources. Less commonly needed, but in a highly secure environment you must allow Timextender to reach its cloud resources.
Details: Configure your Firewall.
How to verify the requirements
.NET
IPv4 connectivity
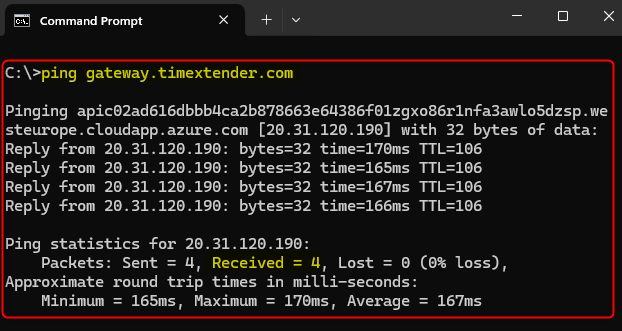
The Ingest Server
The Ingest Server is the gateway for secure data movement from external sources into Ingest target storage.
| Setup | How it runs |
|---|---|
| Sandbox | For individual learners, the Desktop and Server software can be installed, run and controlled all from the same machine. |
| Client-server | In a multi-user environment, install the Ingest instance on a central server such as a VM, and have each user connect remotely from their own Desktop client. |
Install the Ingest Service
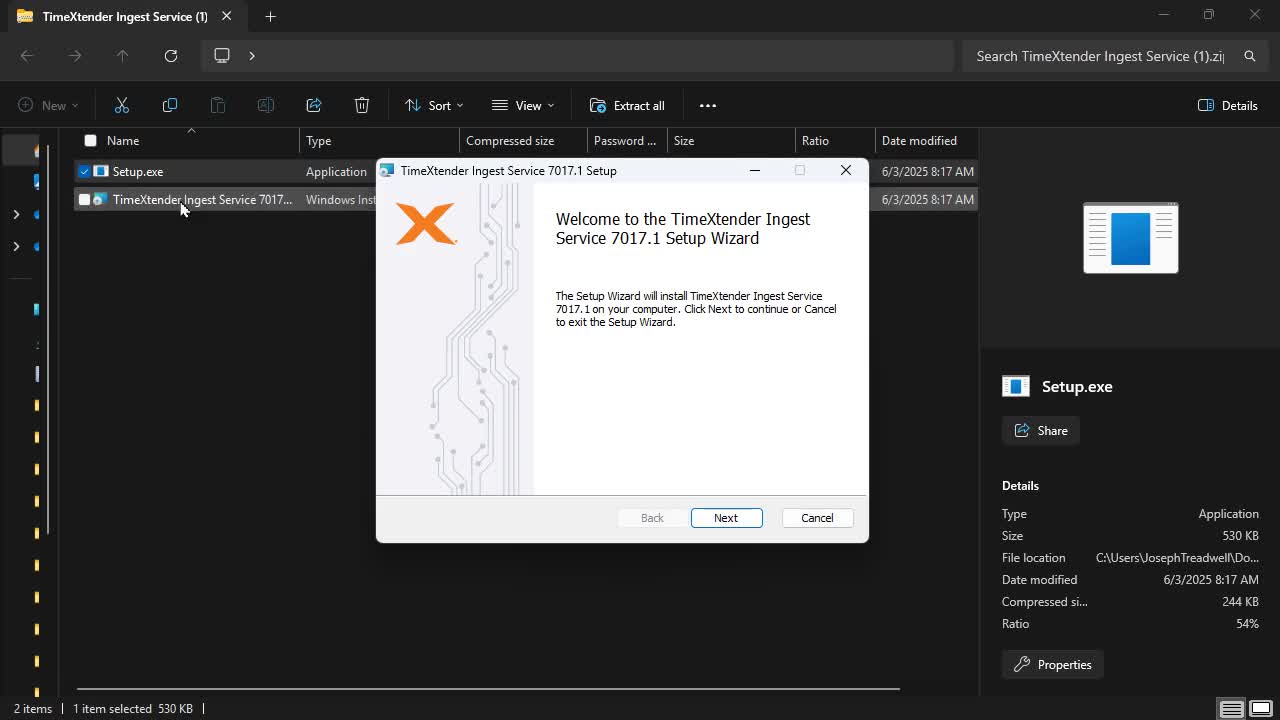
- Visit the installation page.
- Download the Ingest Service.
- Open the file and launch setup.
- Follow the prompts with default settings.
- Choose Typical Setup.
- Check Launch Configure Ingest Server.
- Click Finish.
Then configure it:
- Sign in to the Portal.
- Go to Instances → Ingest Dev.
- Continue with the default settings.
- Click Save.
Reference: Install Timextender Data Integration and How to Configure Timextender Data Integration.
The Desktop application
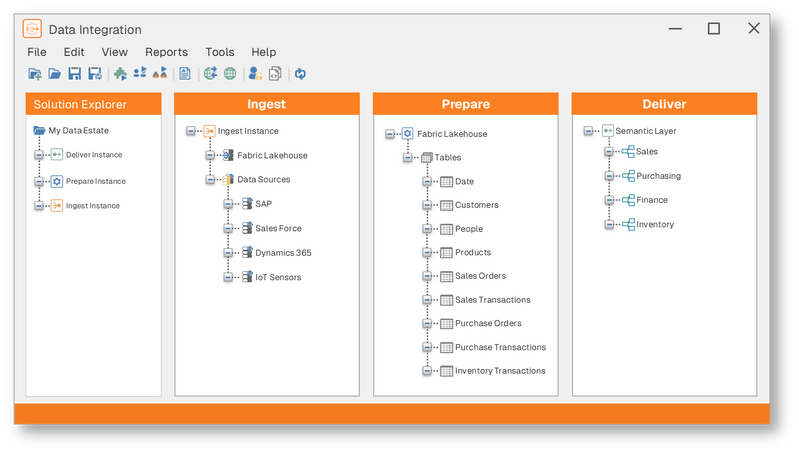
The Desktop application is where you design data workflows, transformations and data models locally, with a drag-and-drop interface. It is normally installed on each user's own machine.
Install the Desktop app
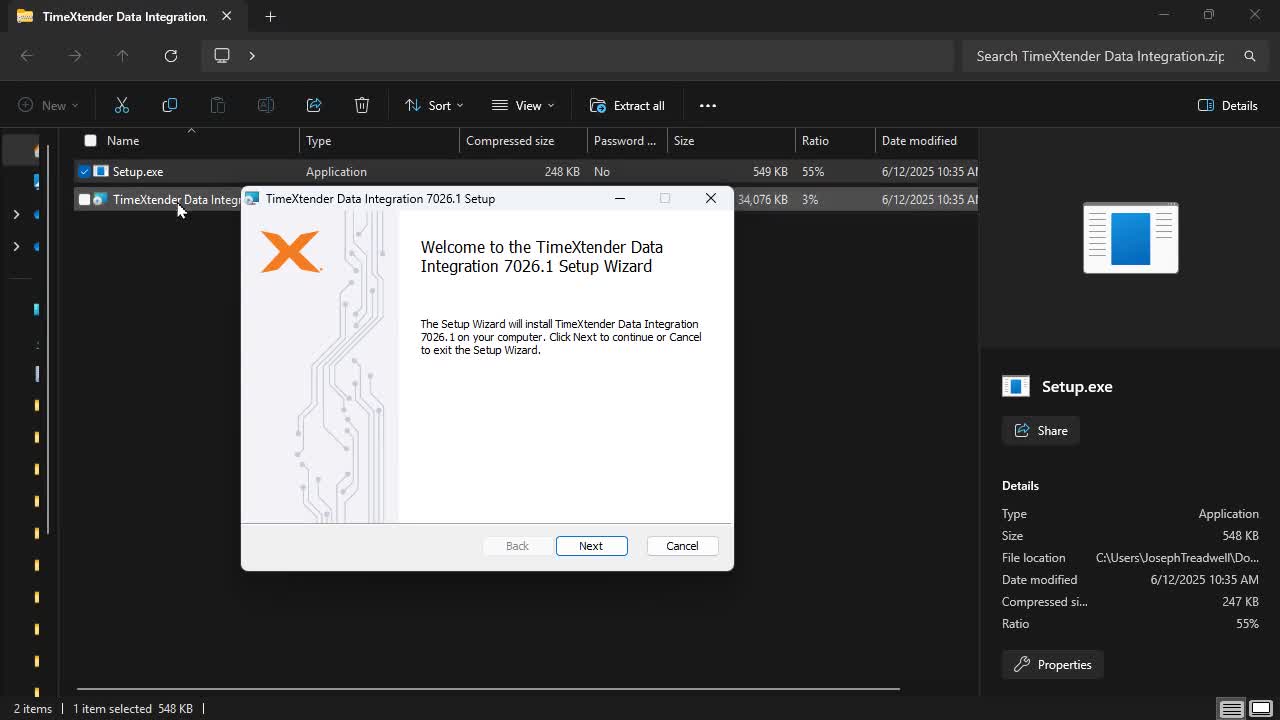
- Visit the installation page.
- Download Timextender.
- Open the file and launch setup.
- Follow the prompts with default settings.
- Click Finish.
See also Timextender Data Integration User Interface.
Create Ingest and Prepare storage
Now create the data storage container — a database, for instance — inside the server you specified on the instance.
- Open Timextender Desktop and log in.
- Double-click the Ingest Dev instance.
- Right-click Ingest Dev → Edit Instance.
- Click Create Storage, keep the defaults, click OK.
- Double-click the Prepare Dev instance.
- Right-click it and choose Edit Instance.
- Click Create Storage, keep the defaults, click OK.
Related: Instances and Settings, Add Ingest Instances, Add Prepare Instances.
Next in the course
Portal · Ingest Instance · Prepare Instance
Discussed in the community
Looking for related questions…
Didn't find your answer? Ask the community about this page — questions are answered by Timextender experts, partners and other users.